Sunday, September 29, 2013

Mint Milk Chocolate Pretzel Cookies


Milk chocolate pretzels are the best ever. Especially the ones from Trader Joe's. These cookies were made for a couple of friends, and they are the perfect combination of mint & chocolate. Plus, they have a CRUNCH FACTOR. 


Ingredients:

  • 3/4 cup (1.5 sticks) unsalted butter, softened 
  • 3/4 cup brown sugar
  • 1/4 cup granulated sugar
  • 1 large egg
  • 2 teaspoons vanilla extract
  • 2 cups all-purpose flour
  • 2 teaspoons cornstarch
  • 1 teaspoon baking soda
  • 1/2 teaspoon salt
  • 1 and 1/2 cups crushed milk chocolate pretzels
  • 1 cup Andes Baking chips

Directions:

Preheat oven to 350 F.
Line a cookie sheet with parchment paper or silicone mat.

In a large bowl, cream butter. Then add brown sugar and granulated sugar. Next mix in the egg and vanilla until well blended. 

In a separate bowl, mix together the flour, constarch, baking soda, and salt.
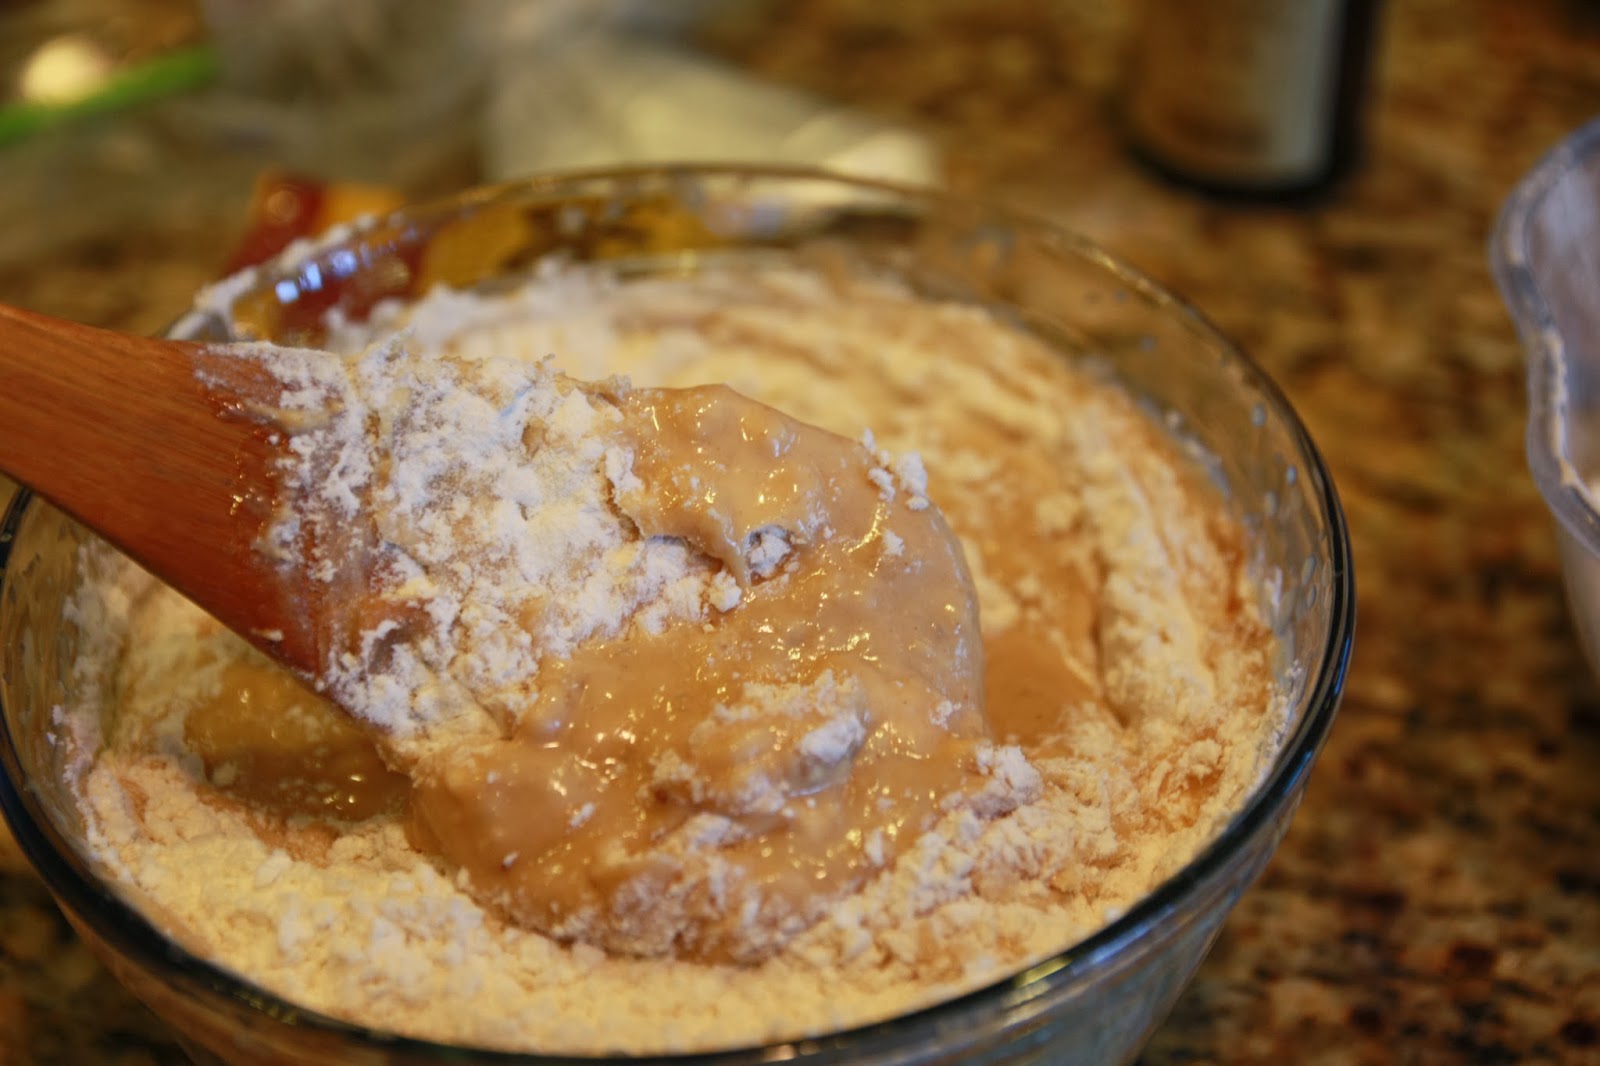
Add dry ingredients into sugar/butter mixture and mix until incorporated. 
Add in pretzels and Andes chips and fold. 

Scoop 2 tbls of dough onto cookie sheet, try to get the pretzels onto the top of the cookie for better presentation. Bake at 350 F for 9-11 minutes, until the edges of the cookies are browned. Cool and enjoy! 

Saturday, September 28, 2013

\\repeat\\


To you who boast tomorrow’s gain 
Tell me what is your life 
A mist that vanishes at dawn 
All glory be to Christ! 


Who brings our chaos back into order
Who makes the orphan a son and daughter
The King of Glory, the King above all kings


Mercy- Phil Wickham [The Ascension]
Now here inside of our skin and bones
Heaven above is making it's home
The kingdom of God living upon the world
To love like He loves and give like he gives
To tell the story that makes dead men live
and that's what it takes if we're gonna to change the world

Phil Wickham's new album is incredible, not only is he an awesome artist, but he's also a humble worship leader, a faithful follower of Christ, and writes lyrics that speak the truth of the Gospel. You can see how he embeds the Bible and the story of Jesus into all of his songs. He is such a blessing and encouragement to the Christian musical community. Go listen to his new album!


Thursday, September 26, 2013

Peanut Butter Banana Muffins- skinnier version


The only thing tip I have for this recipe is to make sure you start out at 425F for the first 5 minutes. It gives the muffins the first boost to give them a nice rounded top. Then lower it down to 350F for the rest of the baking time. These are a little bit "skinnier" than my other recipes because there's no butter! Woohoo and not much sugar. But they are plenty sweet. Enjoy!


Ingredients:

MUFFINS

  • 3 ripe medium bananas, mashed with no chunks
  • 1/4 cup honey 
  • 1/4 cup brown sugar
  • 1/2 cup 0% Plain Greek Yogurt
  • 1 large egg
  • 1/3 cup unsweetened almond milk 
  • 1/2 cup creamy peanut butter
  • 1 tsp vanilla bean paste or vanilla extract
  • 1 and 3/4 cups all purpose flour (to be healthier you can use wheat)
  • 1 teaspoon ground cinnamon
  • 1 teaspoon baking soda
  • 1 teaspoon baking powder
  • 1/4 teaspoon salt

OPTIONAL

  • 1/3 cup chocolate chips
  • 1/4 cup creamy peanut butter, melted

Directions:

Preheat oven to 425F degrees. Line a 12 muffin pan with baking cups.
In a medium bowl, use a hand-mixer to beat bananas. Make sure there are no lumps! Add the honey, brown sugar, greek yogurt, egg and beat. Then add milk and peanut butter. Finally mix in the vanilla. 
In a large bowl, whisk together the flour, cinnamon, baking soda, baking powder, and salt.  Without overbeating, add in the dry ingredients into the wet ingredients. Then fold in the chocolate chips.
Fill the muffin cups practically all the way to the top. You want to make it so that it's practically full. Bake for 5 minutes at 425F degrees. Keeping the muffins in the oven, reduce the oven temperature to 350F and continue to bake for 12 more minutes or until a toothpick inserted in the center comes out clean.  Top with a drizzle of peanut butter if you'd like :)

Recipe and all credit goes to: Sallys Baking Addiction

Dental school is harder than you think, but easier than you believe

The first mold of my own teeth. I still have issues that I'm working on, so be kind! The black thing is called an articulator. It is meant to simulate jaw movement. The darn thing is kind of a pain to work with too! but thankfully I'm getting better at it. 
This is just a look into the things I've been up to over the last 4-5 weeks of being in dental school! It is true when they say that dental school is a humbling experience, because there are so many things that you have seen before and are familiar with. But once you are the ones using your hands and trying to get something to the exact millimeter in depth, things are completely different. That's why I'm saying that:

dental school is harder than you think, but easier than you believe
I'm so grateful that dentistry is like this, where details matter, and everyone struggles. The struggles are what makes us better as clinicians, and as professionals. We will soon have confidence in the things that we once did not, and we will know how to handle situations when things go wrong. And trust me, things go wrong all the time. I'm only a month in and I know this.
Another important lesson I've learned is that you're never going to be the best, because there's always going to be someone who just gets it. This goes with everything in life...but especially true in dental school. I'm beginning to see where my strengths and weaknesses lie. The good thing is that you learn really fast. And even now, my drilling doesn't look completely destructive, after only a couple of rounds of practice. It still probably looks pretty awful, and I'm okay with that. I know I'm nowhere near the end yet, so I have time to get better!
In four years, I want to come back to this post and hopefully laugh at how terrible my hand skills were. I also hope I am proud of myself for getting through all the challenges, battles, and frustrations. There will be times where I'll doubt my decision for choosing this path, but only because I am so weak and am relying on my own strength to get me through the day or the week. In that moment, I hope that I can remember that Jesus is the only way we can journey this road. I will quickly burn out if I don't cling to His side at every moment of every day.

“I am the true vine, and My Father is the vinedresser. Every branch in Me that does not bear fruit He takes away; and every branch that bears fruit He prunes, that it may bear more fruit. You are already clean because of the word which I have spoken to you. Abide in Me, and I in you. As the branch cannot bear fruit of itself, unless it abides in the vine, neither can you, unless you abide in Me.“I am the vine, you are the branches. He who abides in Me, and I in him, bears much fruit; for without Me you can do nothing. If anyone does not abide in Me, he is cast out as a branch and is withered; and they gather them and throw them into the fire, and they are burned. If you abide in Me, and My words abide in you, you will ask what you desire, and it shall be done for you. By this My Father is glorified, that you bear much fruit; so you will be My disciples. {John 15:1-8}


We had to drill our names in the back of our Learn-A-Prep. This is back in the first week when I didn't know that the length of the bur was 4mm so you could check the depth. I was so confused....


Manny, my new friend.


I think I'm at this desk approx 15 hours a week, at least. -.-


Yes these are my first molds. Took me 9 hrs to make all of this. One day I'll look back and laugh [hopefully].


After cleaning up the molds for 3 hrs and then shaving them down. The next step was to make the angles..which I completely screwed up on! Hahah you'll probably hear me saying that a LOT.


The left most tooth has not been drilled on yet. [Don't worry the black marks are pencil marks]

The center tooth was prepped [drilled] by me, but filled with amalgam by my awesome faculty Dr. Z.

The right tooth was prepped and filled by me! It's a work-in-progress :)


This is what we have been learning in our Restorative class. How to drill on teeth basically. The problem is that you have to make sure that the walls are at certain angles, the width and lengths are within a certain range to the millimeter, and the floor of the preparation is smooth. Now this all seems pretty doable..until you start drilling and get a little too crazy and completely drill right into the pulp..then we have a problem. You can't really replace something once you've drilled....


Wednesday, September 25, 2013

Kit Kat Chocolate Chip Cookies

OK so these are like really good...so don't make these if you're on a diet! Thank God I had to bring these to a potluck, or else I would have stuffed them all down my mouth and would be in regret right now. The only special thing about these are that I made them in a whoopie pan, so they're like GIANT. But other than that, brown butter makes them super nutty & delicious. If you're wondering why & how I've been baking so much, it's mainly because I'm procrastinating on work, need baking therapy after every lab session, and am having too much fun in my new apartment. God is good though, and provides us with the rest we need. For that, I am thankful! He sustains me more than I will ever know or imagine. Anyways, enjoy the recipe :)


Got this on Amazon!


Ingredients
  • 1 stick unsalted butter
  • 1/4 cup packed light brown sugar
  • 1/4 cup granulated sugar
  • 1 large egg
  • 1/2 teaspoon pure vanilla extract
  • 1 1/2 cups all-purpose flour
  • 2 tablespoons instant vanilla pudding mix
  • 1/2 teaspoon baking soda
  • 1/4 teaspoon kosher salt
  • 1 1/4 cups mini semi-sweet chocolate chips
  • 1 bag mini Kit Kats
Directions
  1. Preheat oven to 350 degrees F. and spray a whoopie pan with nonstick spray or line a pan with parchment.
  2. Place butter into a small saucepan over medium heat. Swirl and heat until deep golden brown. Remove heat and let cool for 5 minutes. [This is important, because you don't want to cook your egg in the next step, if the butter is too hot!]
  3. Place browned butter and little bits from the pan into a stand mixer along with the brown and granulated sugar. Beat to combine then add egg and vanilla beating to combine. Add  flour, pudding mix, baking soda, salt and chocolate chips. Mix on low until just combined.
  4. With a medium cookie scoop, place 2 tablespoons of dough into whoopie pan or onto pan. Gently press 2-3 mini kit kats into each cookie and bake for 10 minutes, until baked through. Remove and let cool on baking sheet for 10 minutes before transferring to cooling rack.